
Adding your signature to a Microsoft Word Document is important to establish trust and legitimacy to your receiver especially for documents like proposals, quotes, contracts, and other sales docs.
Obejrzyj poniższy film, aby dowiedzieć się, jak dodać podpis Artlogo do dokumentu Word.
STEP 1: On your Menu Bar, click "Insert" and click "Picture". Find your Artlogo signature file and upload.

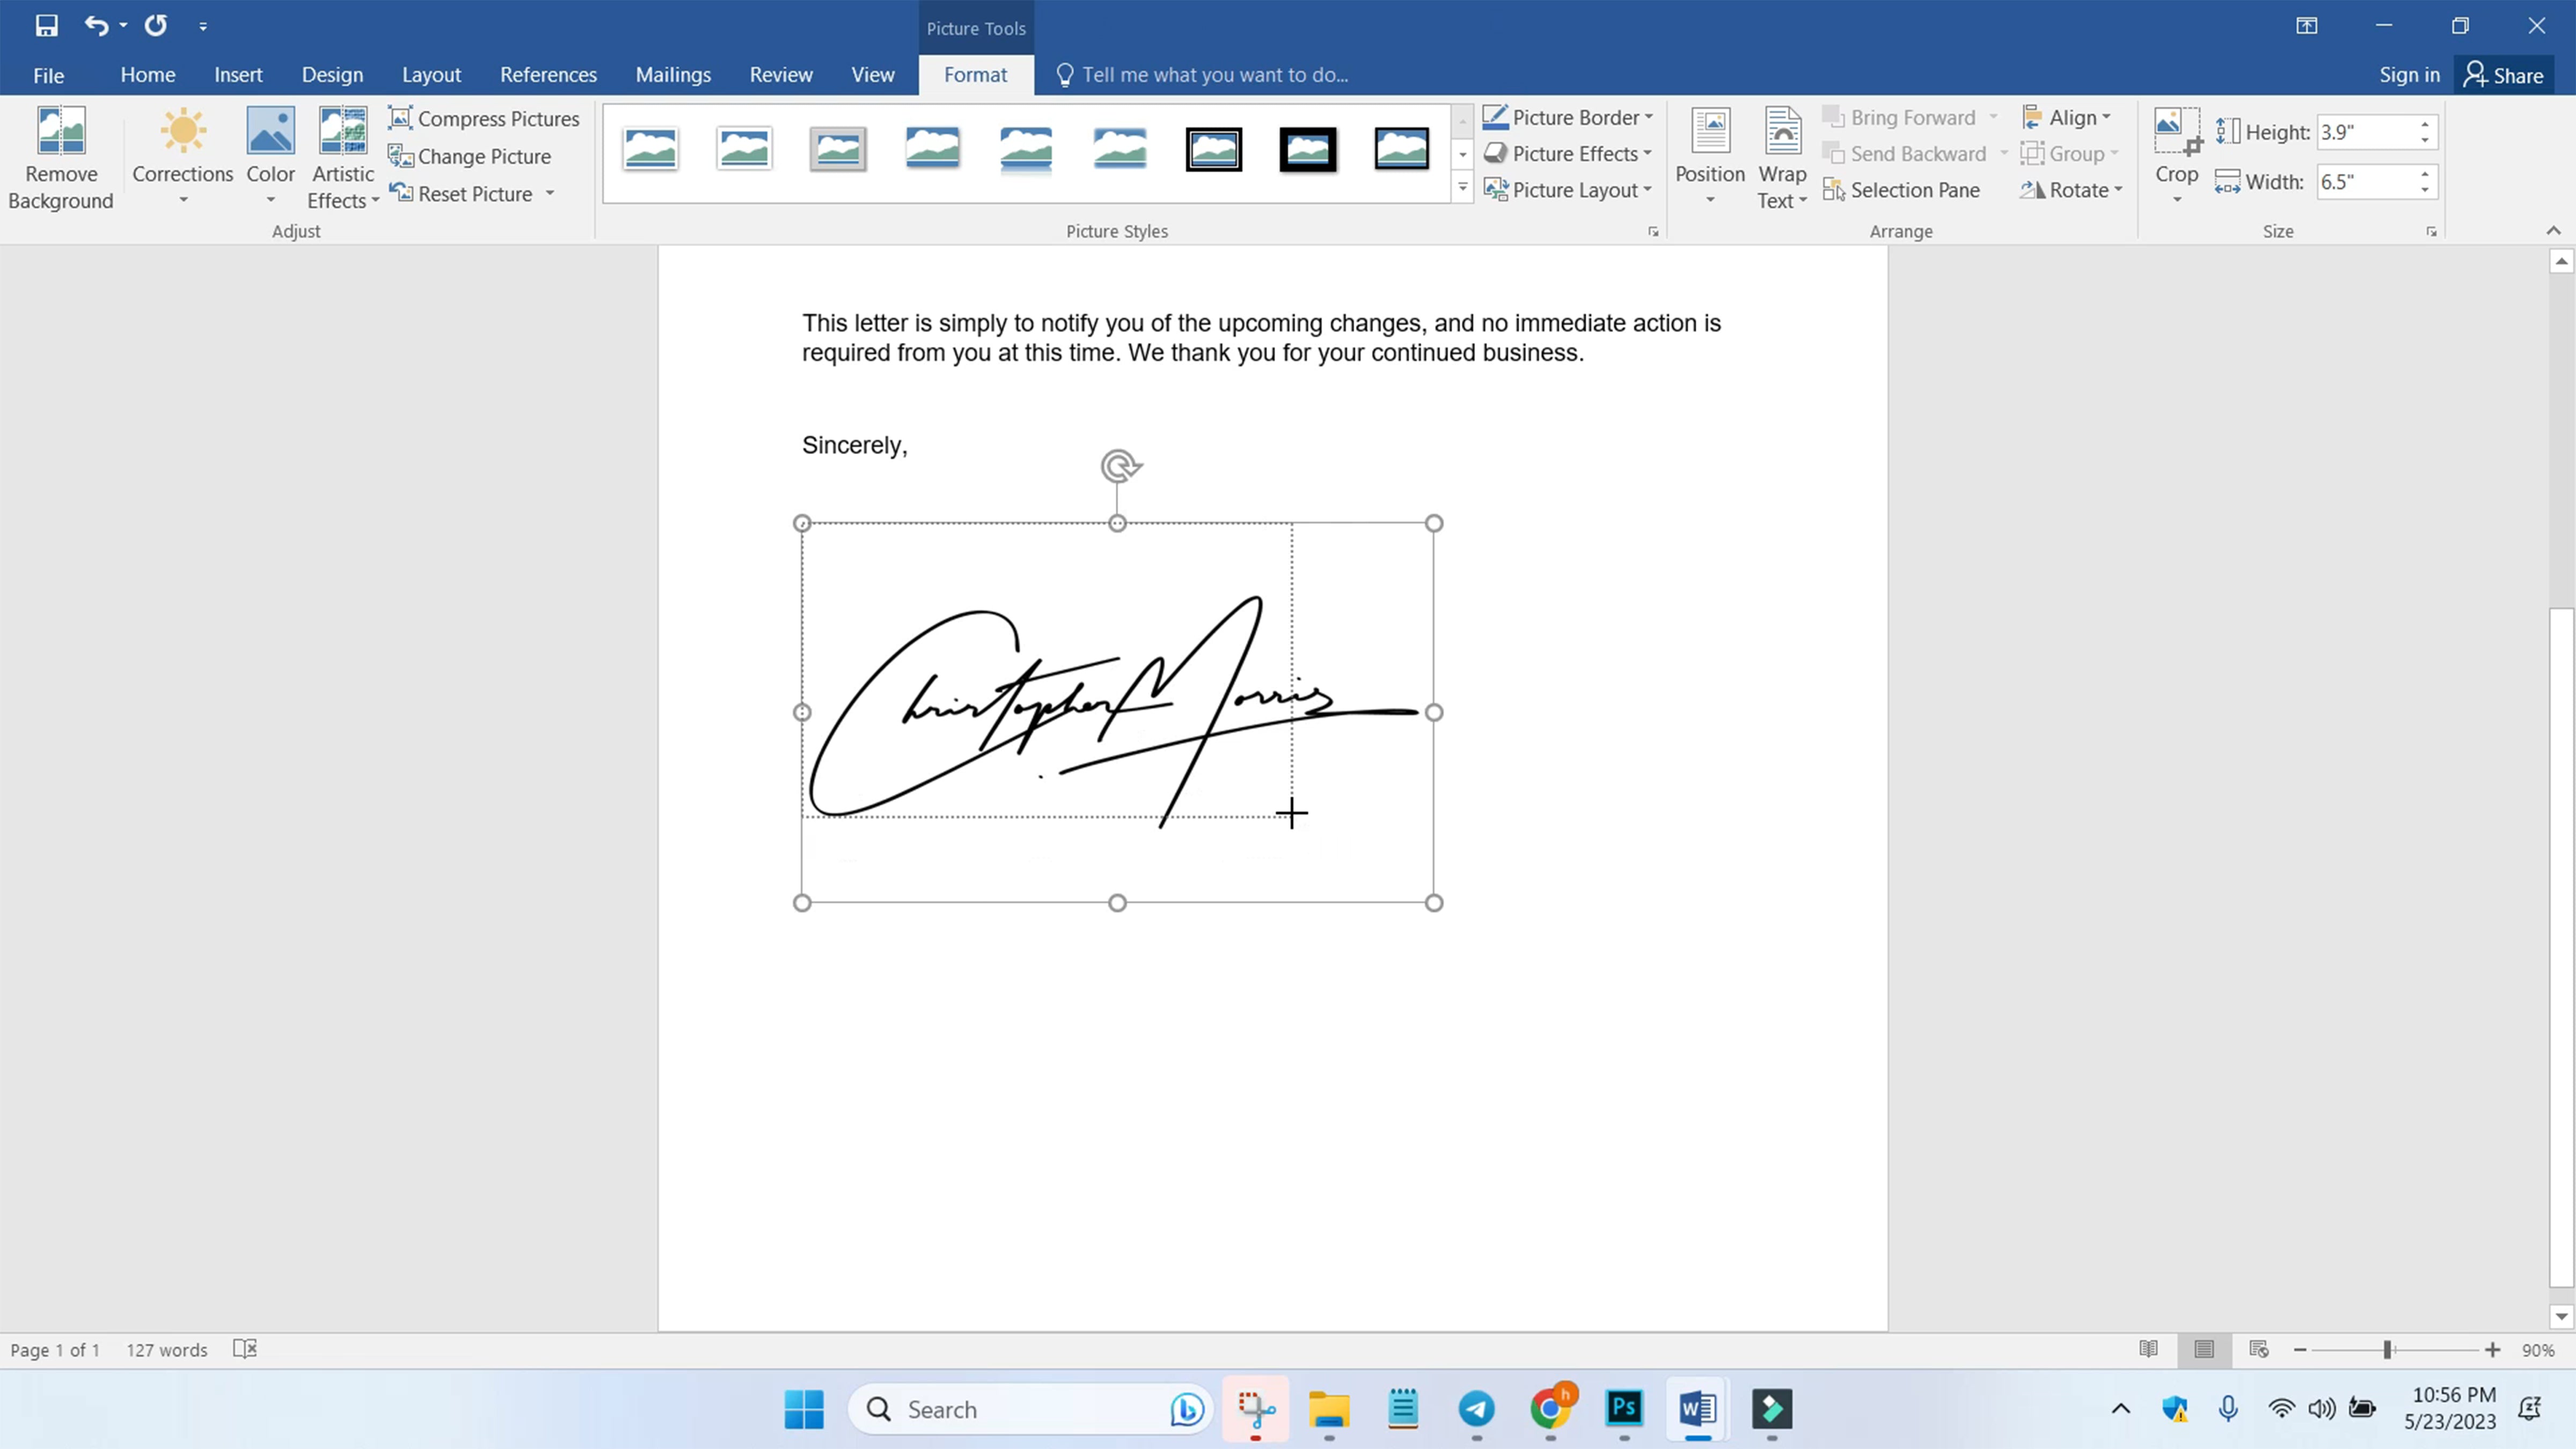
STEP 2: Resize the signature to your desired size.
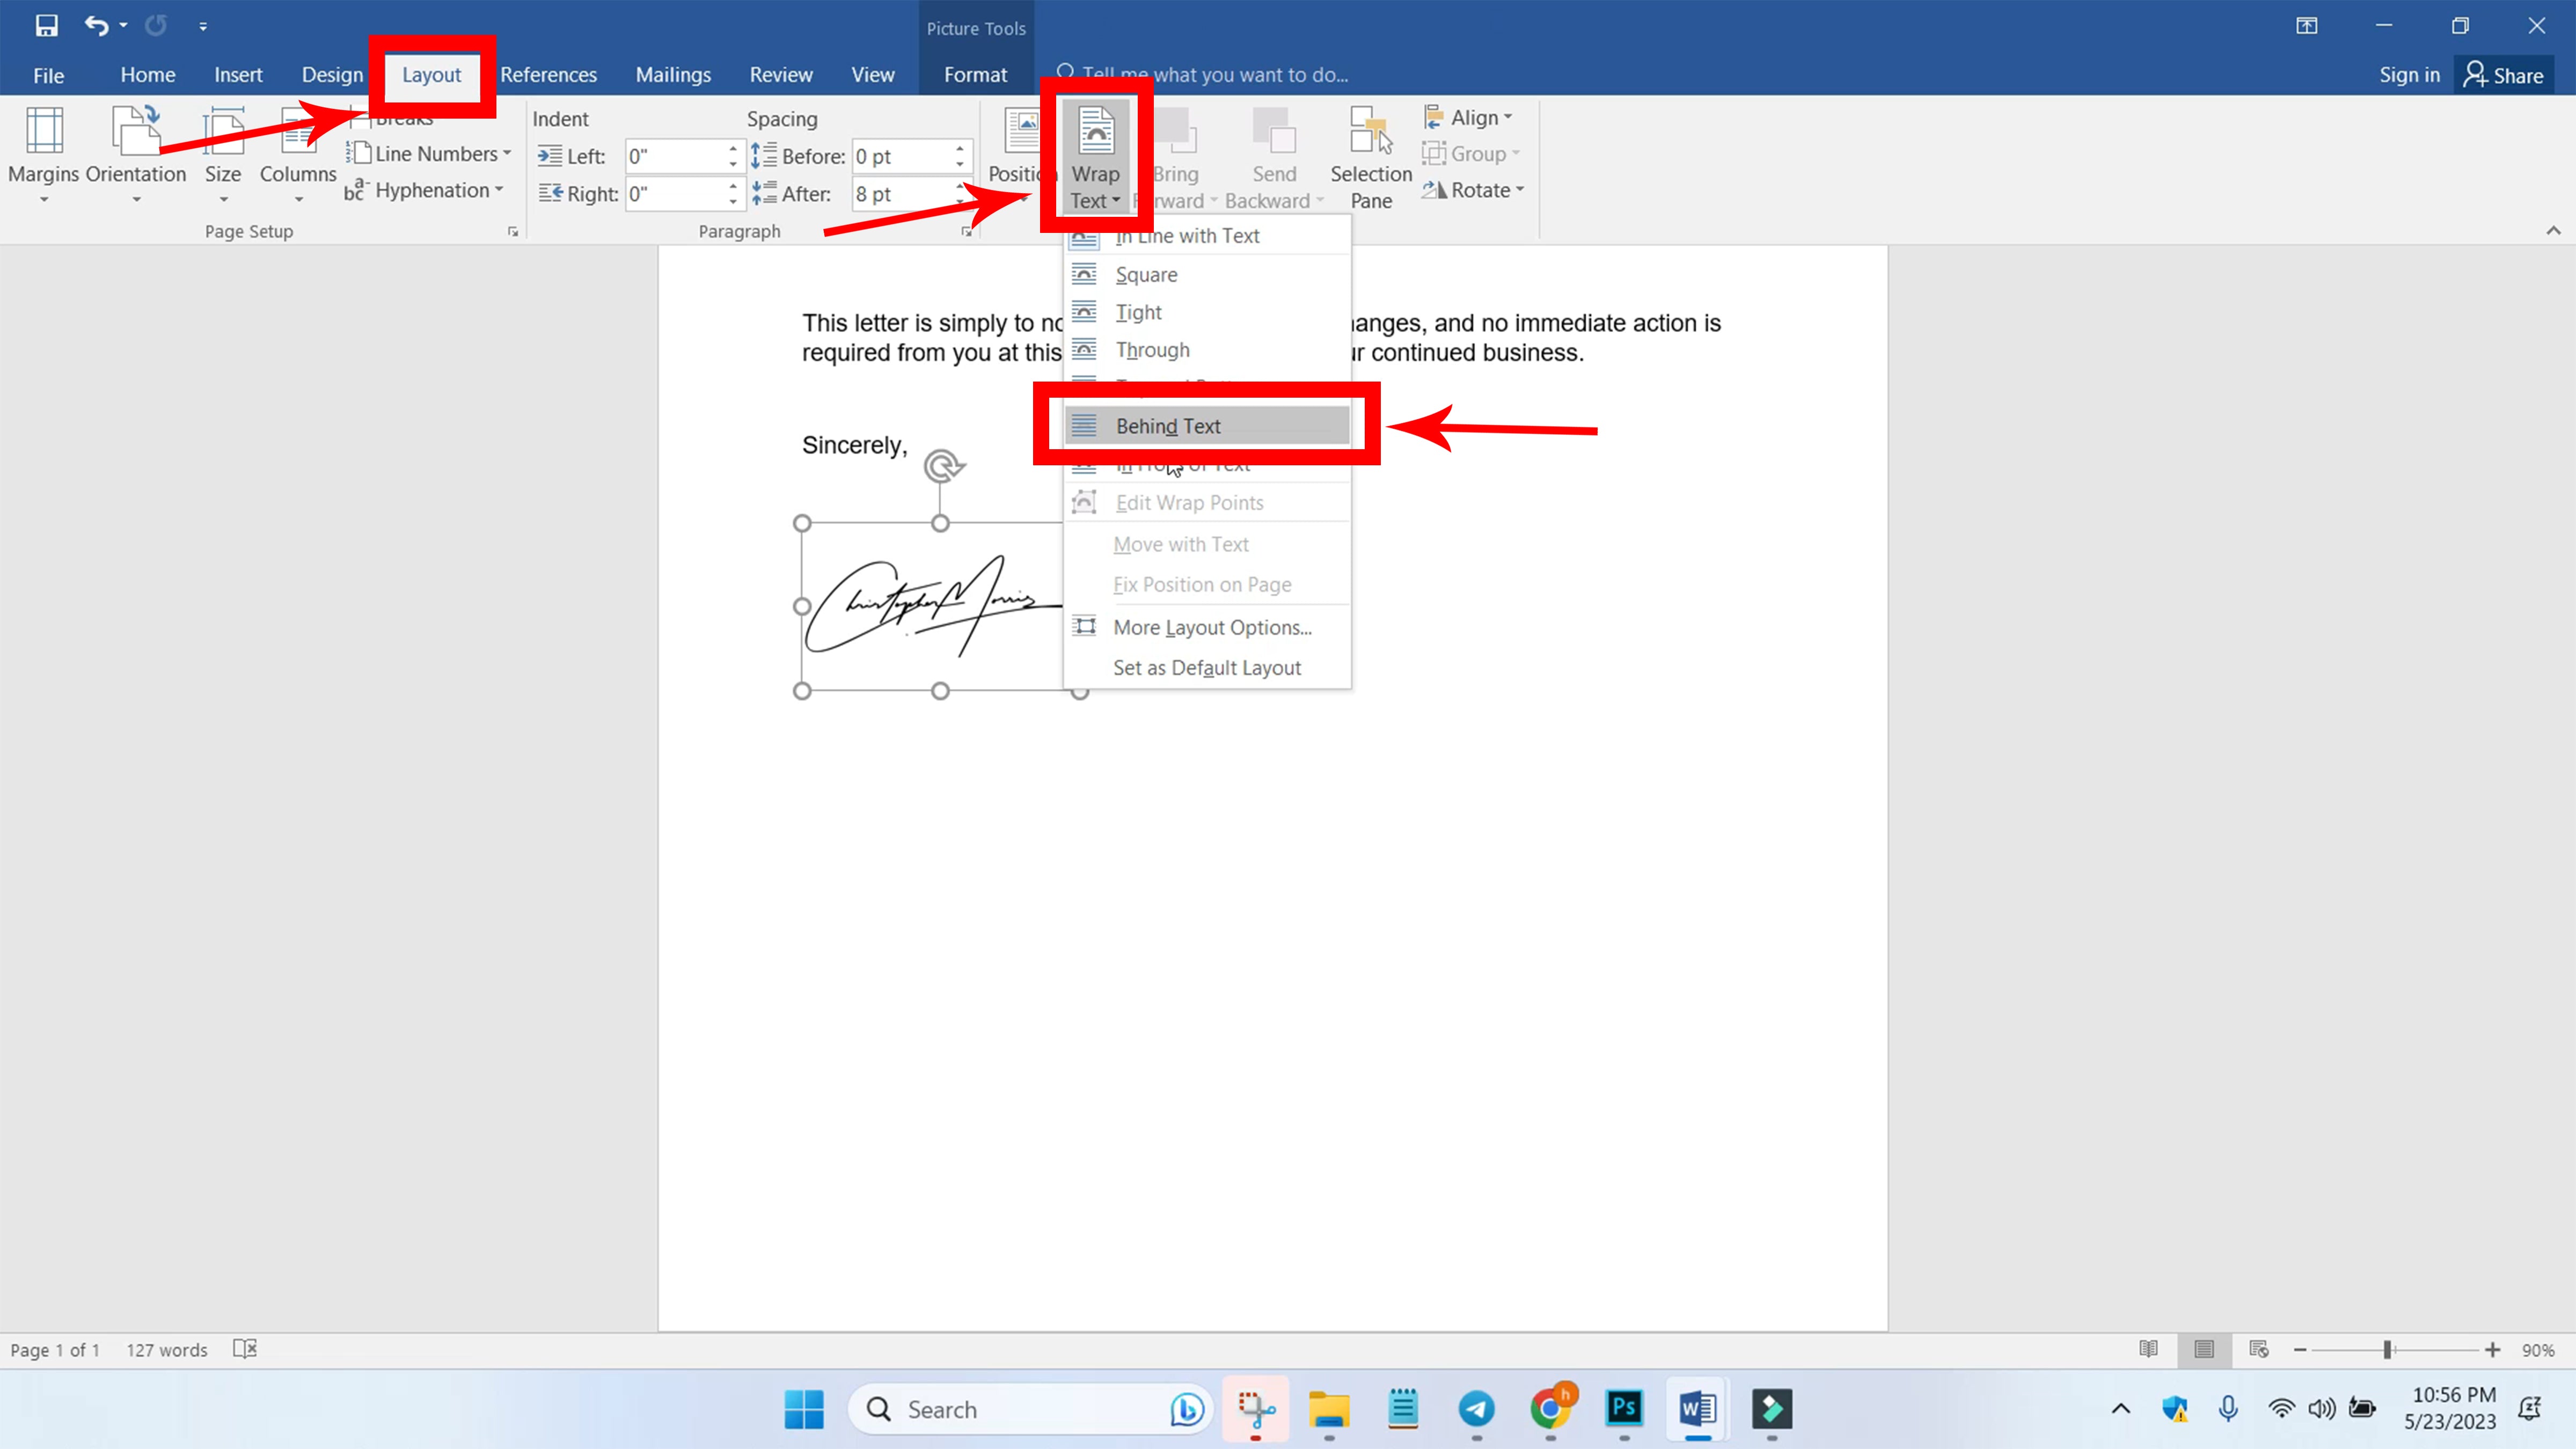
STEP 3: Go to "Layout" on your Menu Bar and click "Wrap Text" then select "Behind Text". This will allow you to drag and move the signature anywhere in the document.
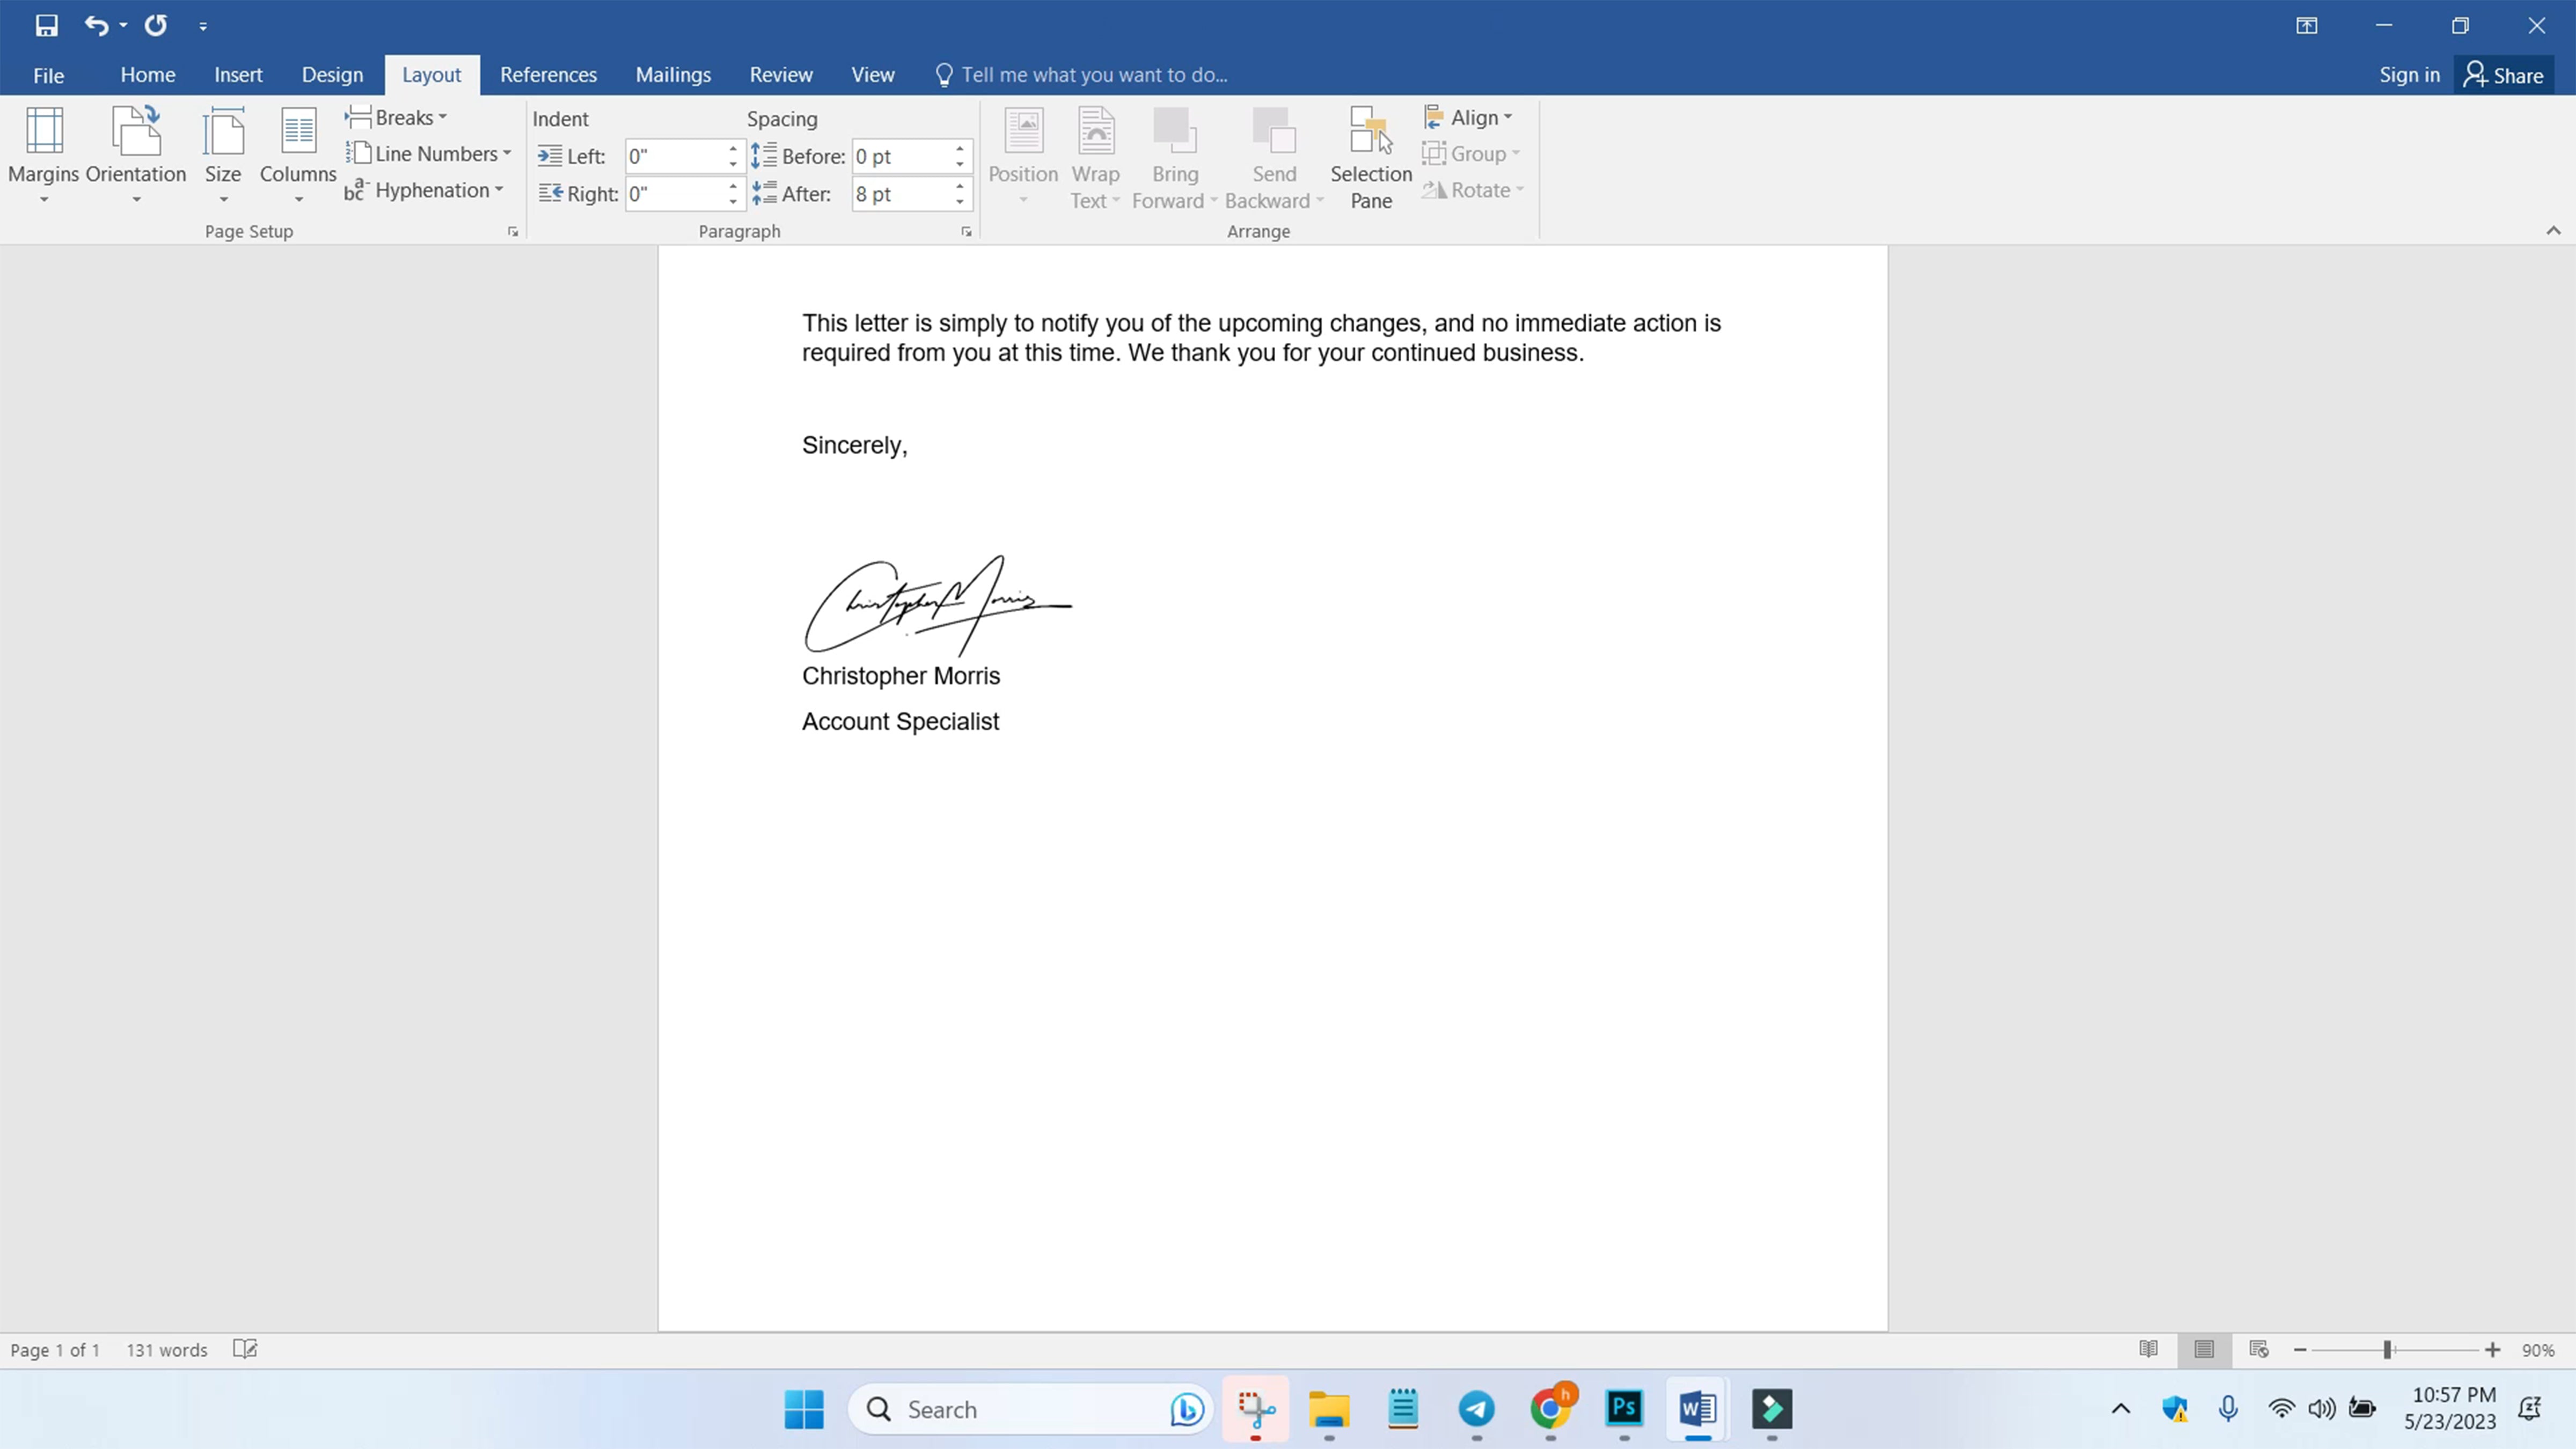
STEP 4: Move the signature to your desired position in the document.
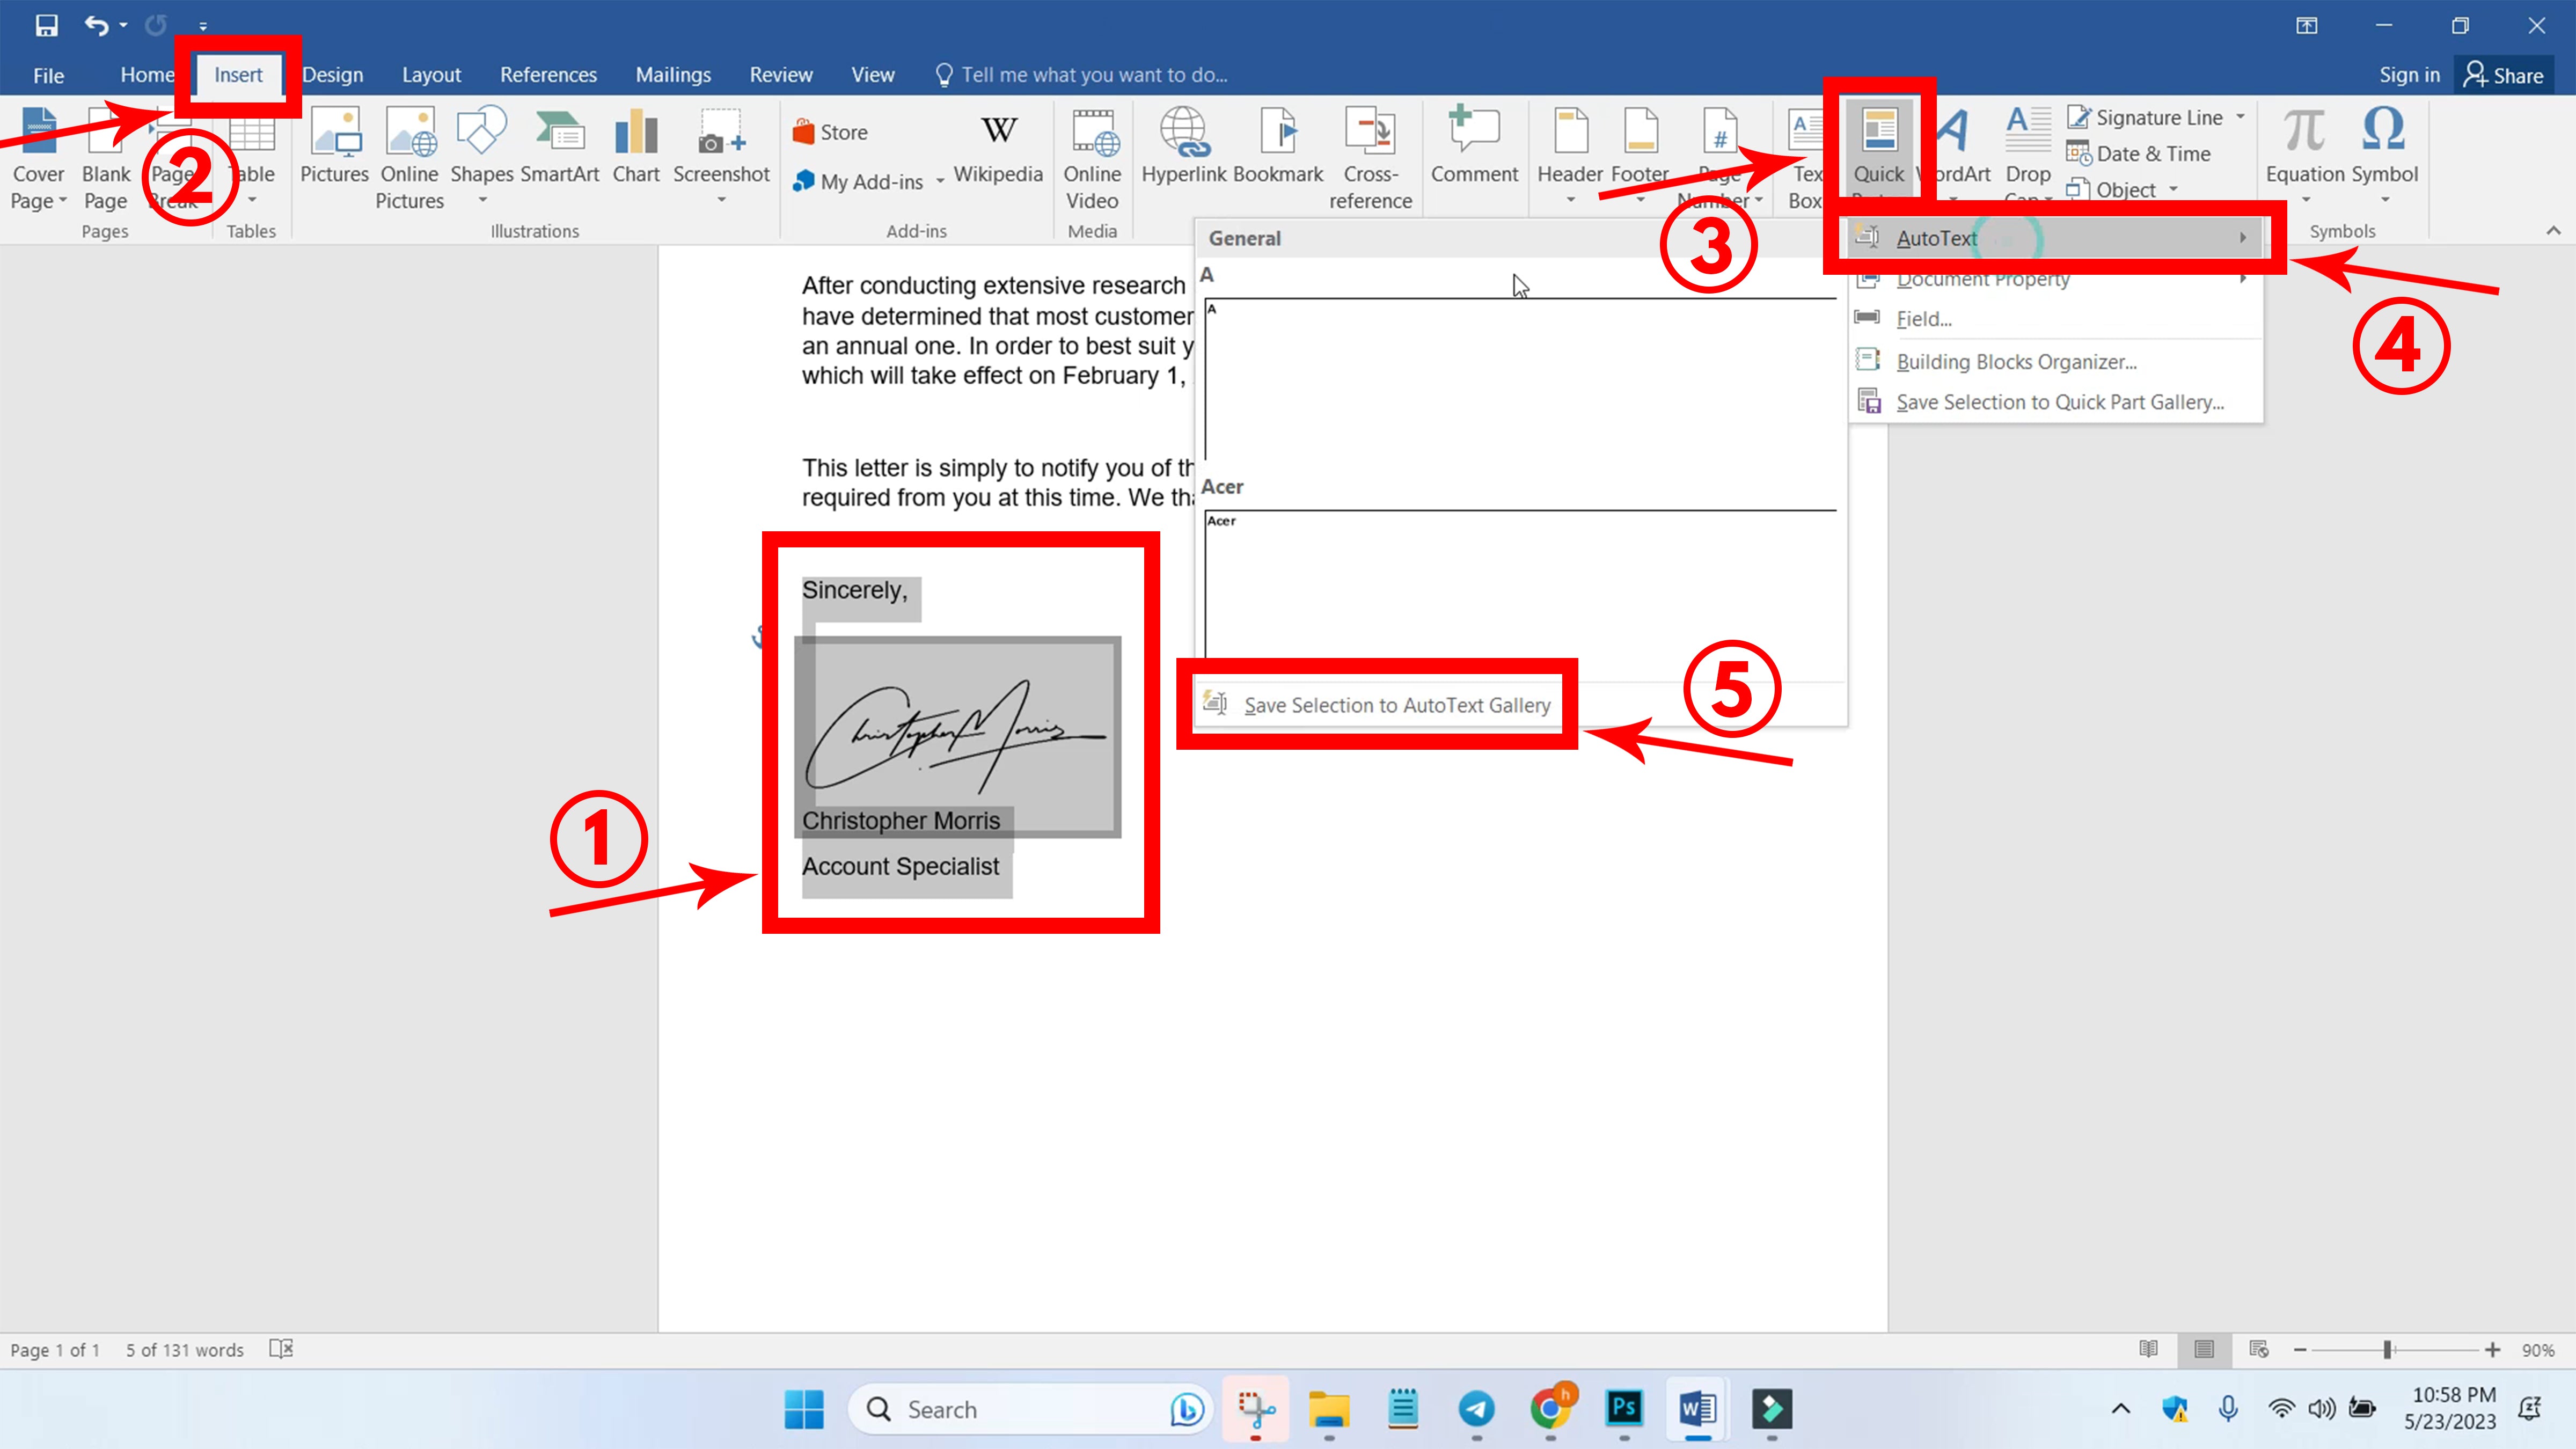
STEP 5: You can also save your signature section so you can insert the signature section to other documents without repeating the process.
Najpierw zaznacz sekcję podpisu i przejdź do "Wstaw" na pasku menu. Następnie kliknij "Quick Parts" i wybierz "AutoText" i przejdź do "Save Selection to AutoText Gallery".
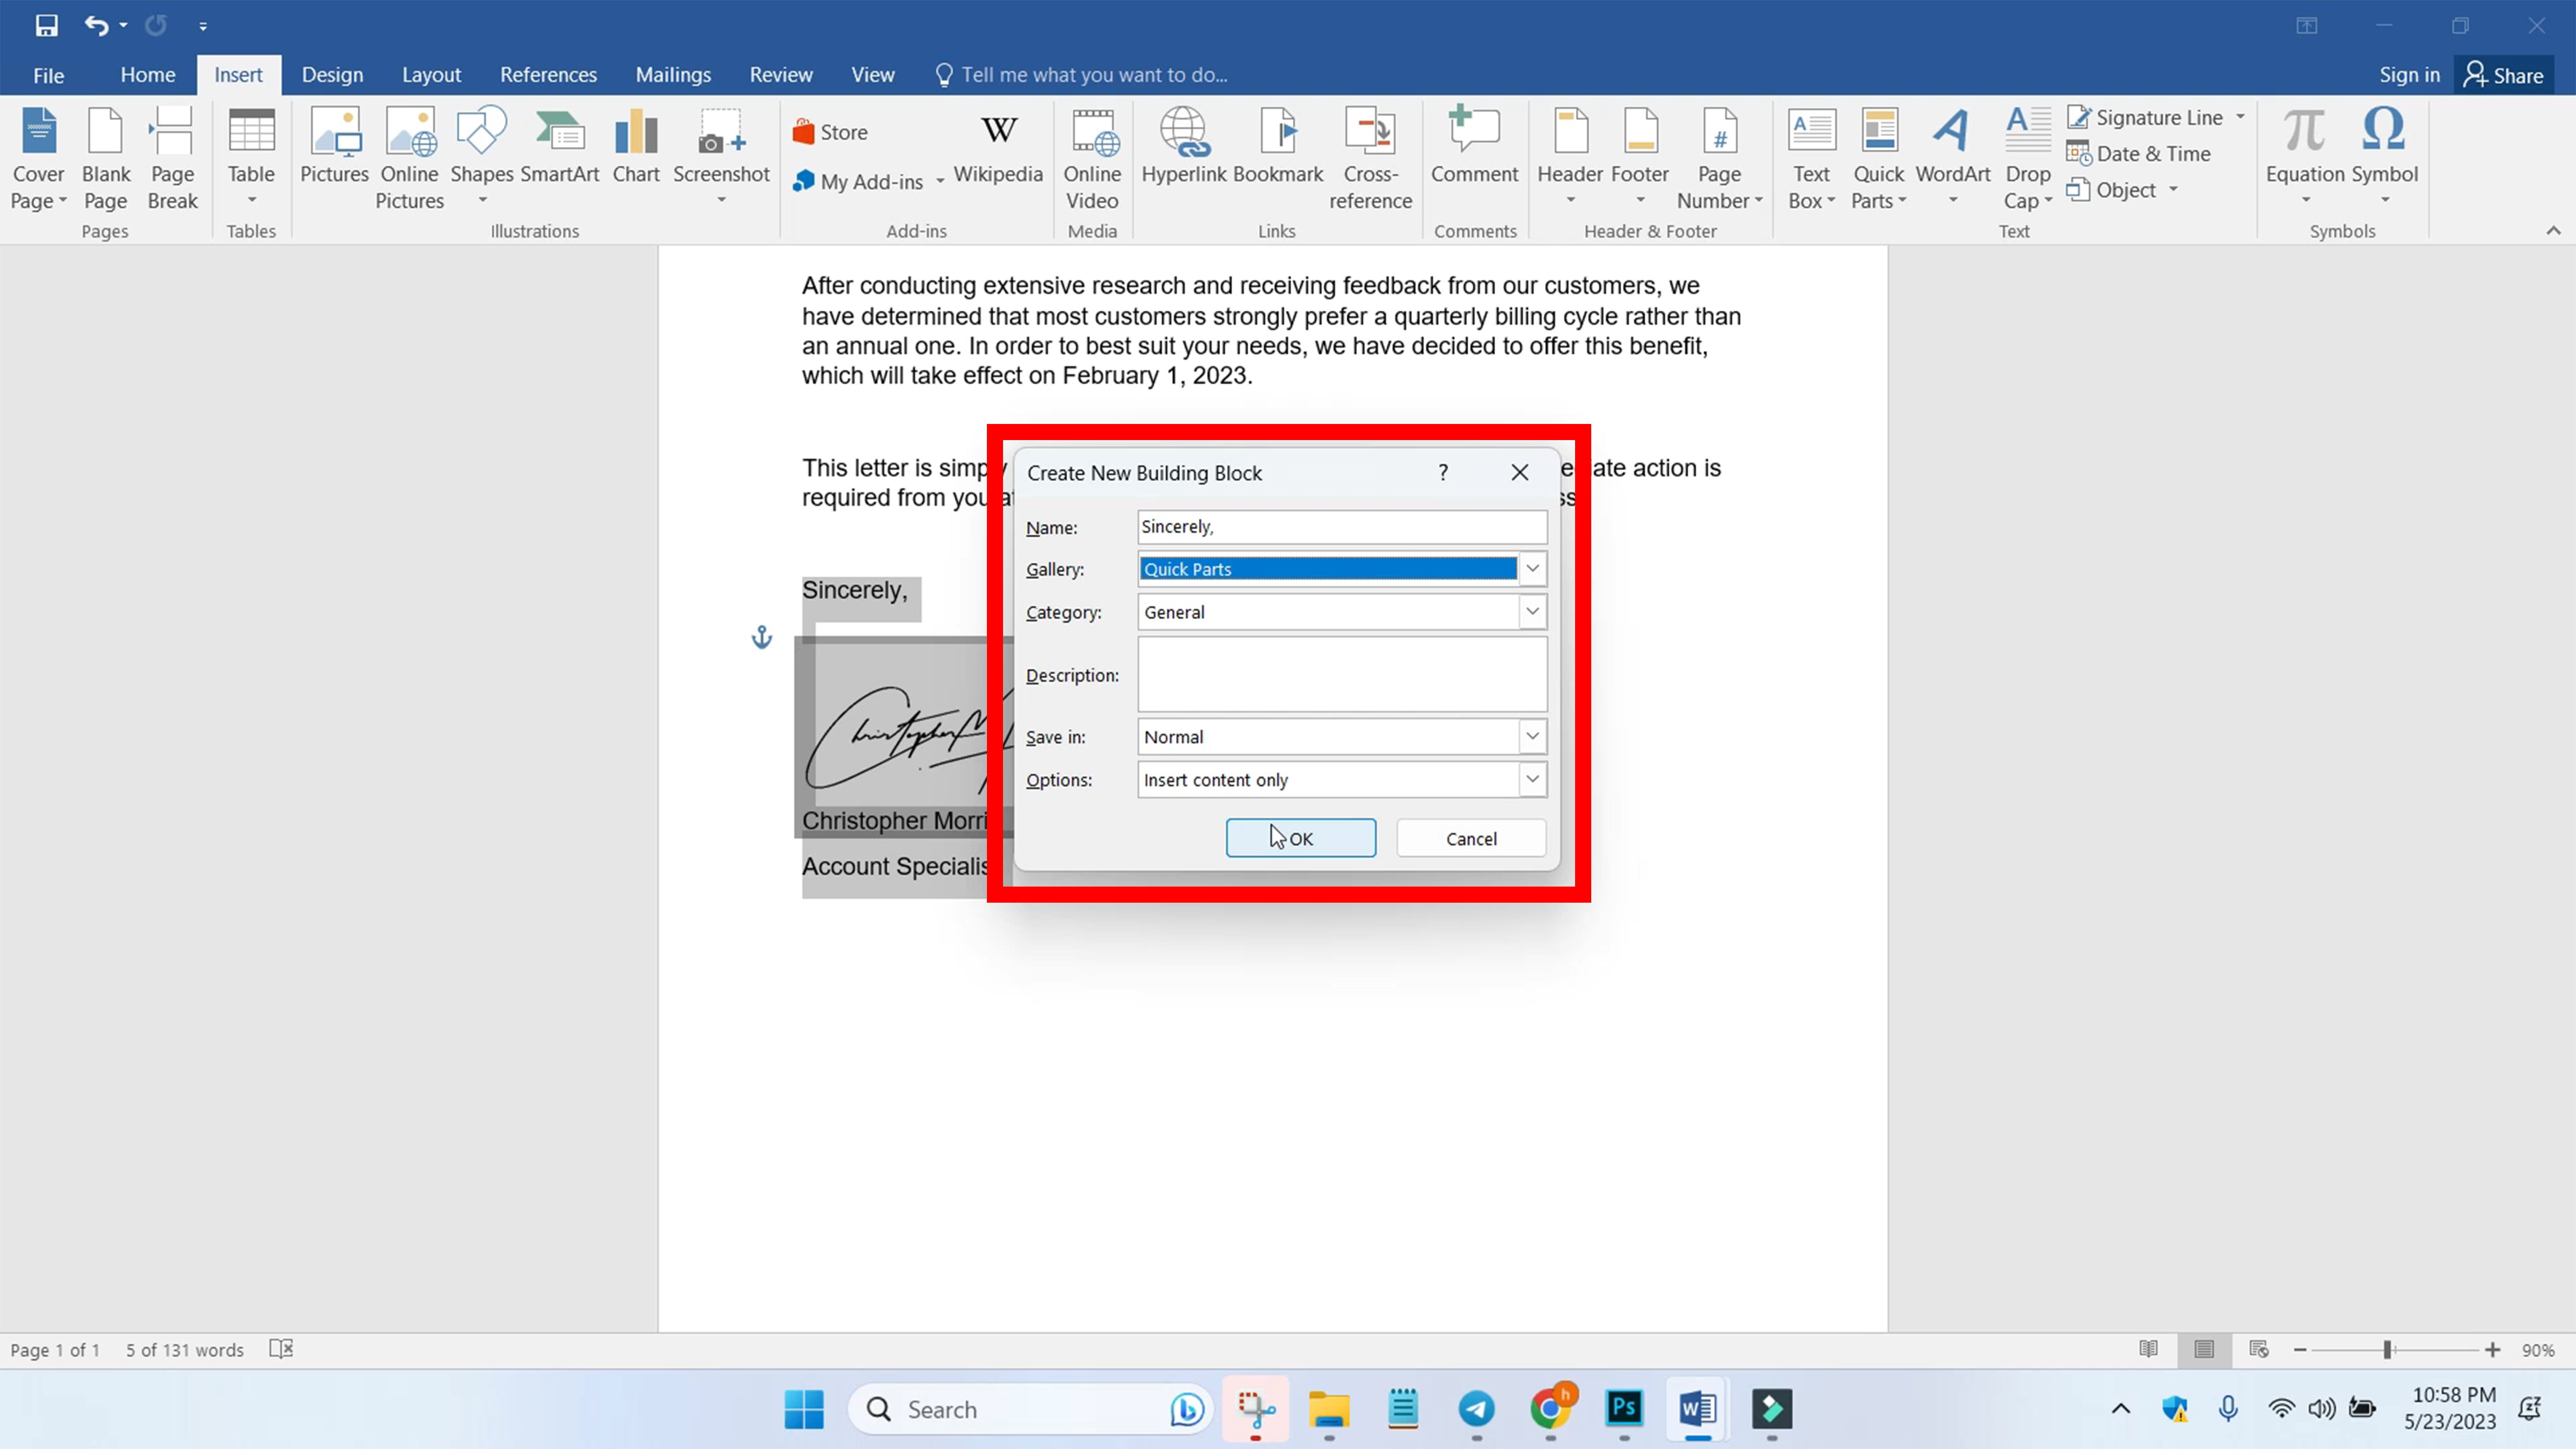
STEP 6: Set the name of your signature section, select "Quick Parts" for the Gallery option, "General" for category, "Normal" for Save In option, and "Insert Content Only" for Options. Click "OK" and the signature section is saved.
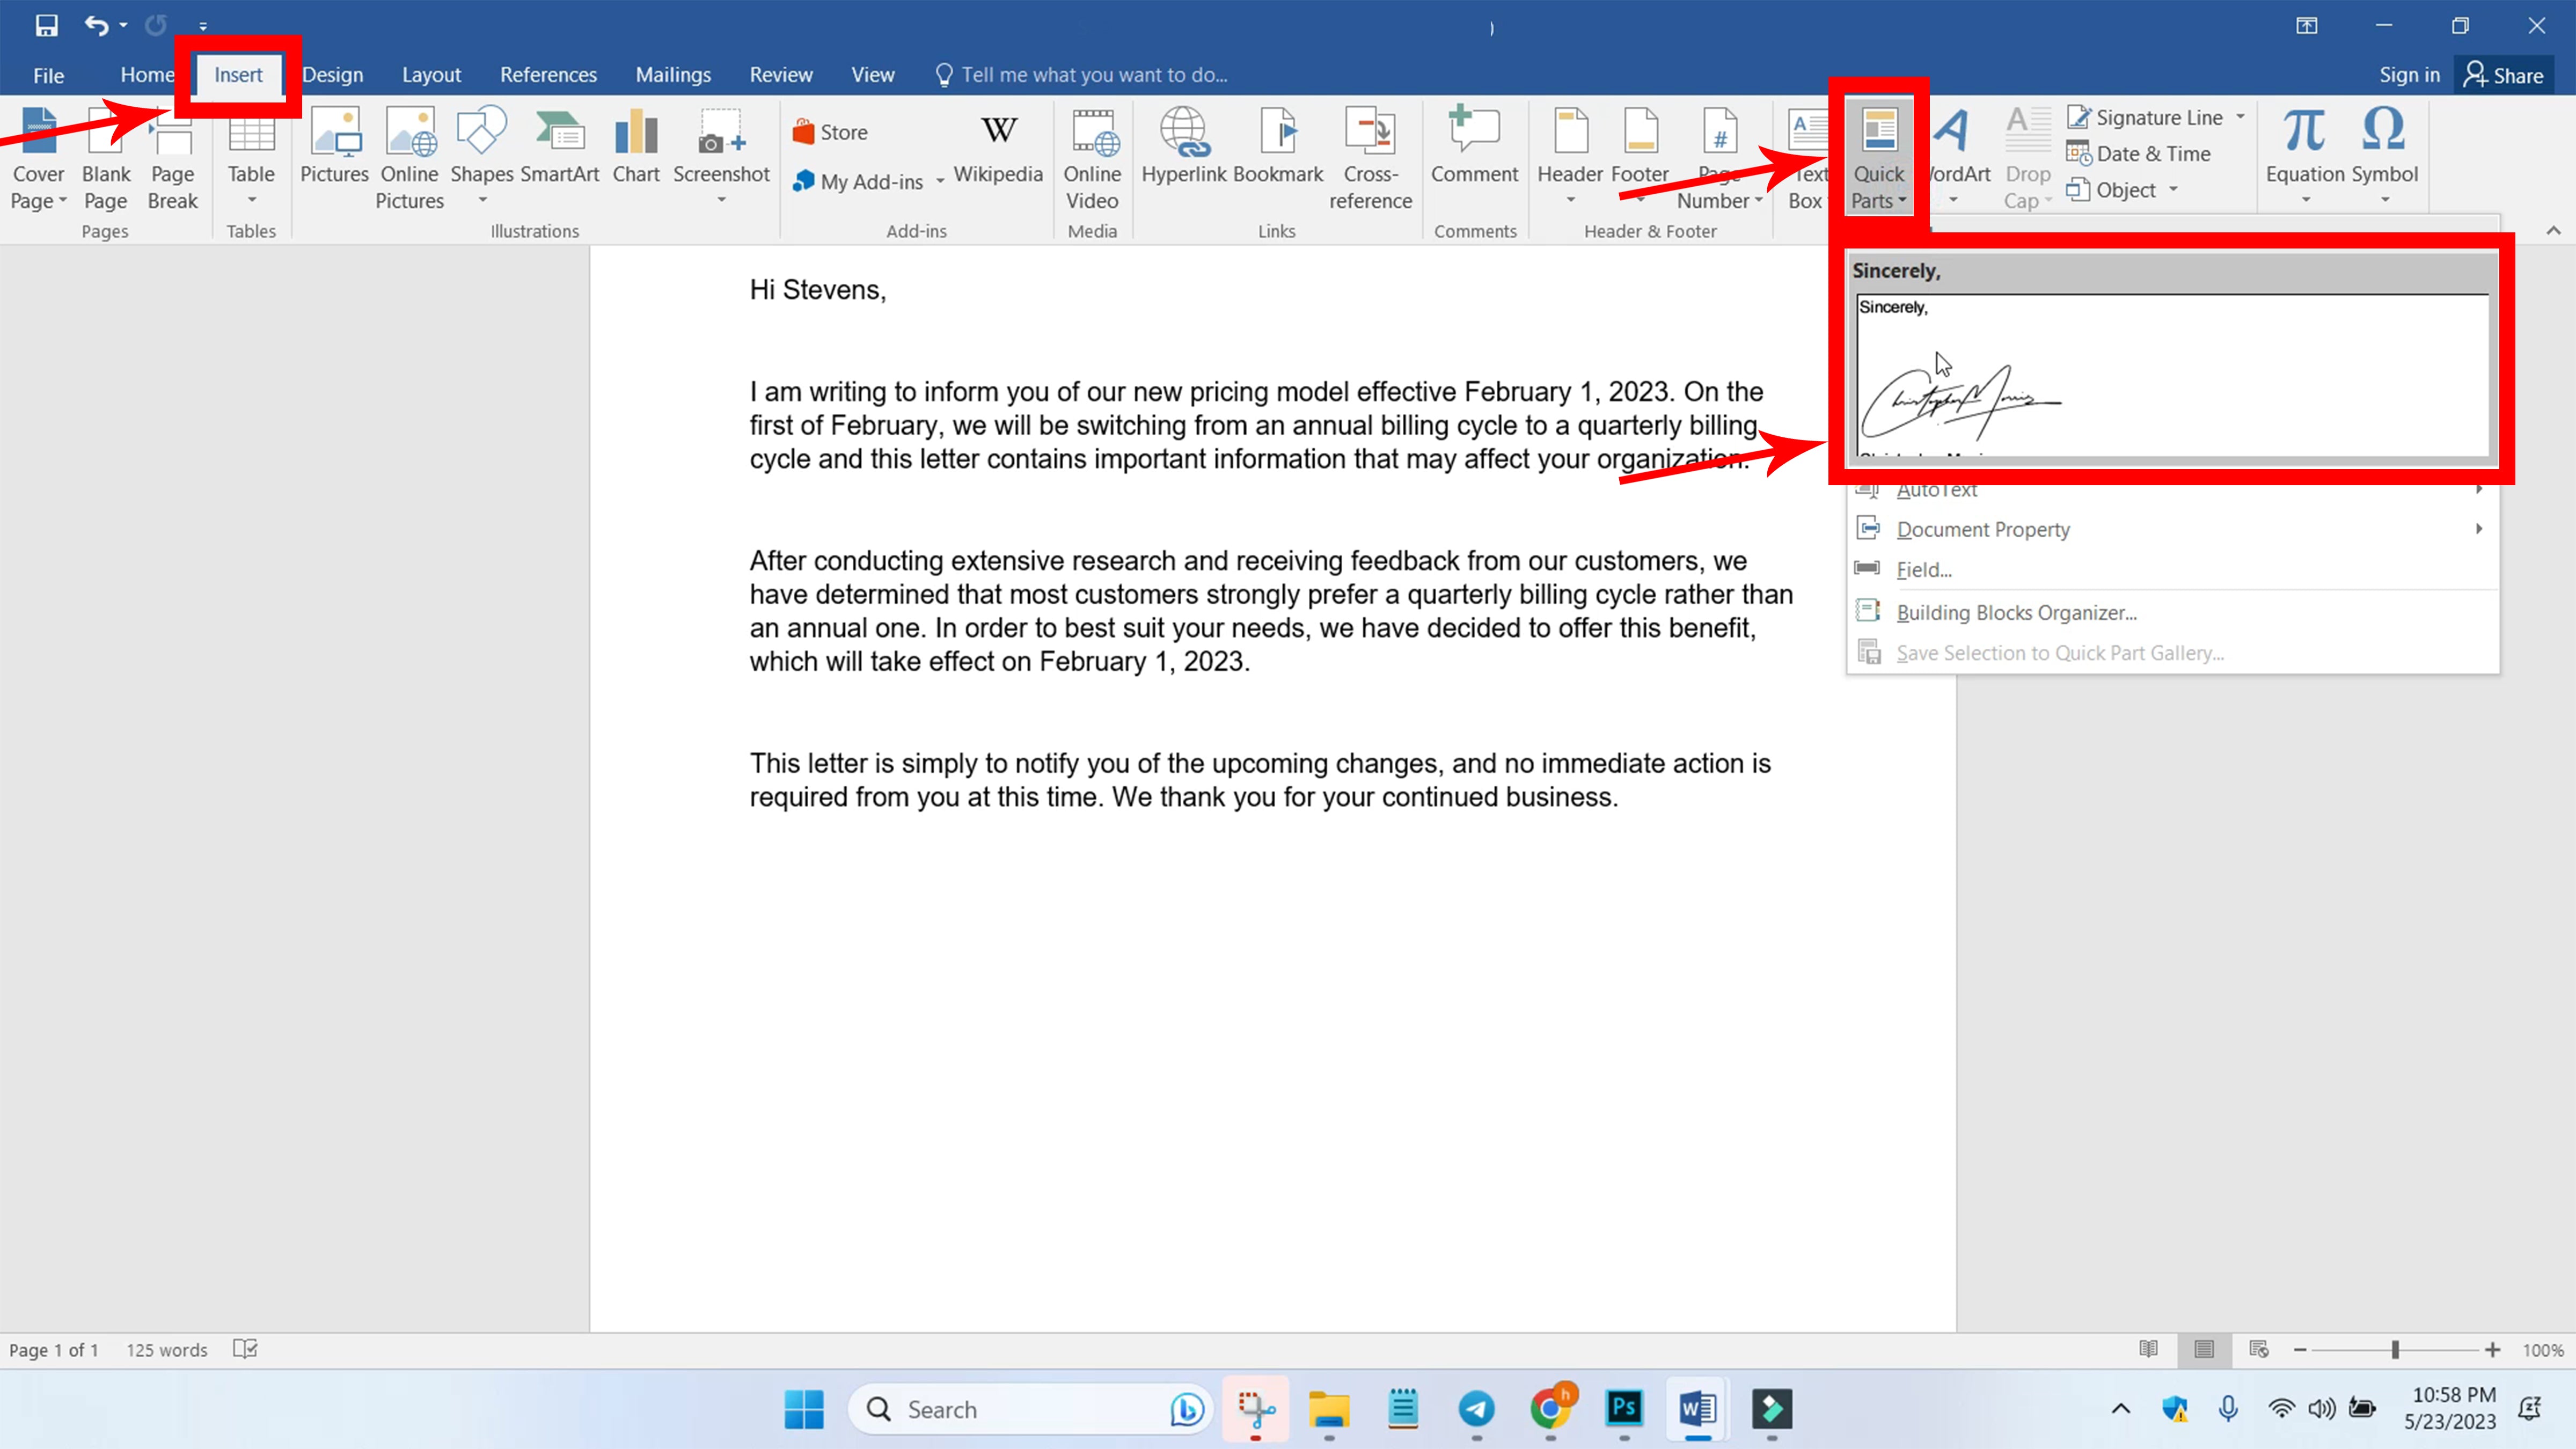
STEP 7: To insert your signature section to other documents, go to "Insert" on your Menu Bar and click "Quick Parts". Click the saved signature section.
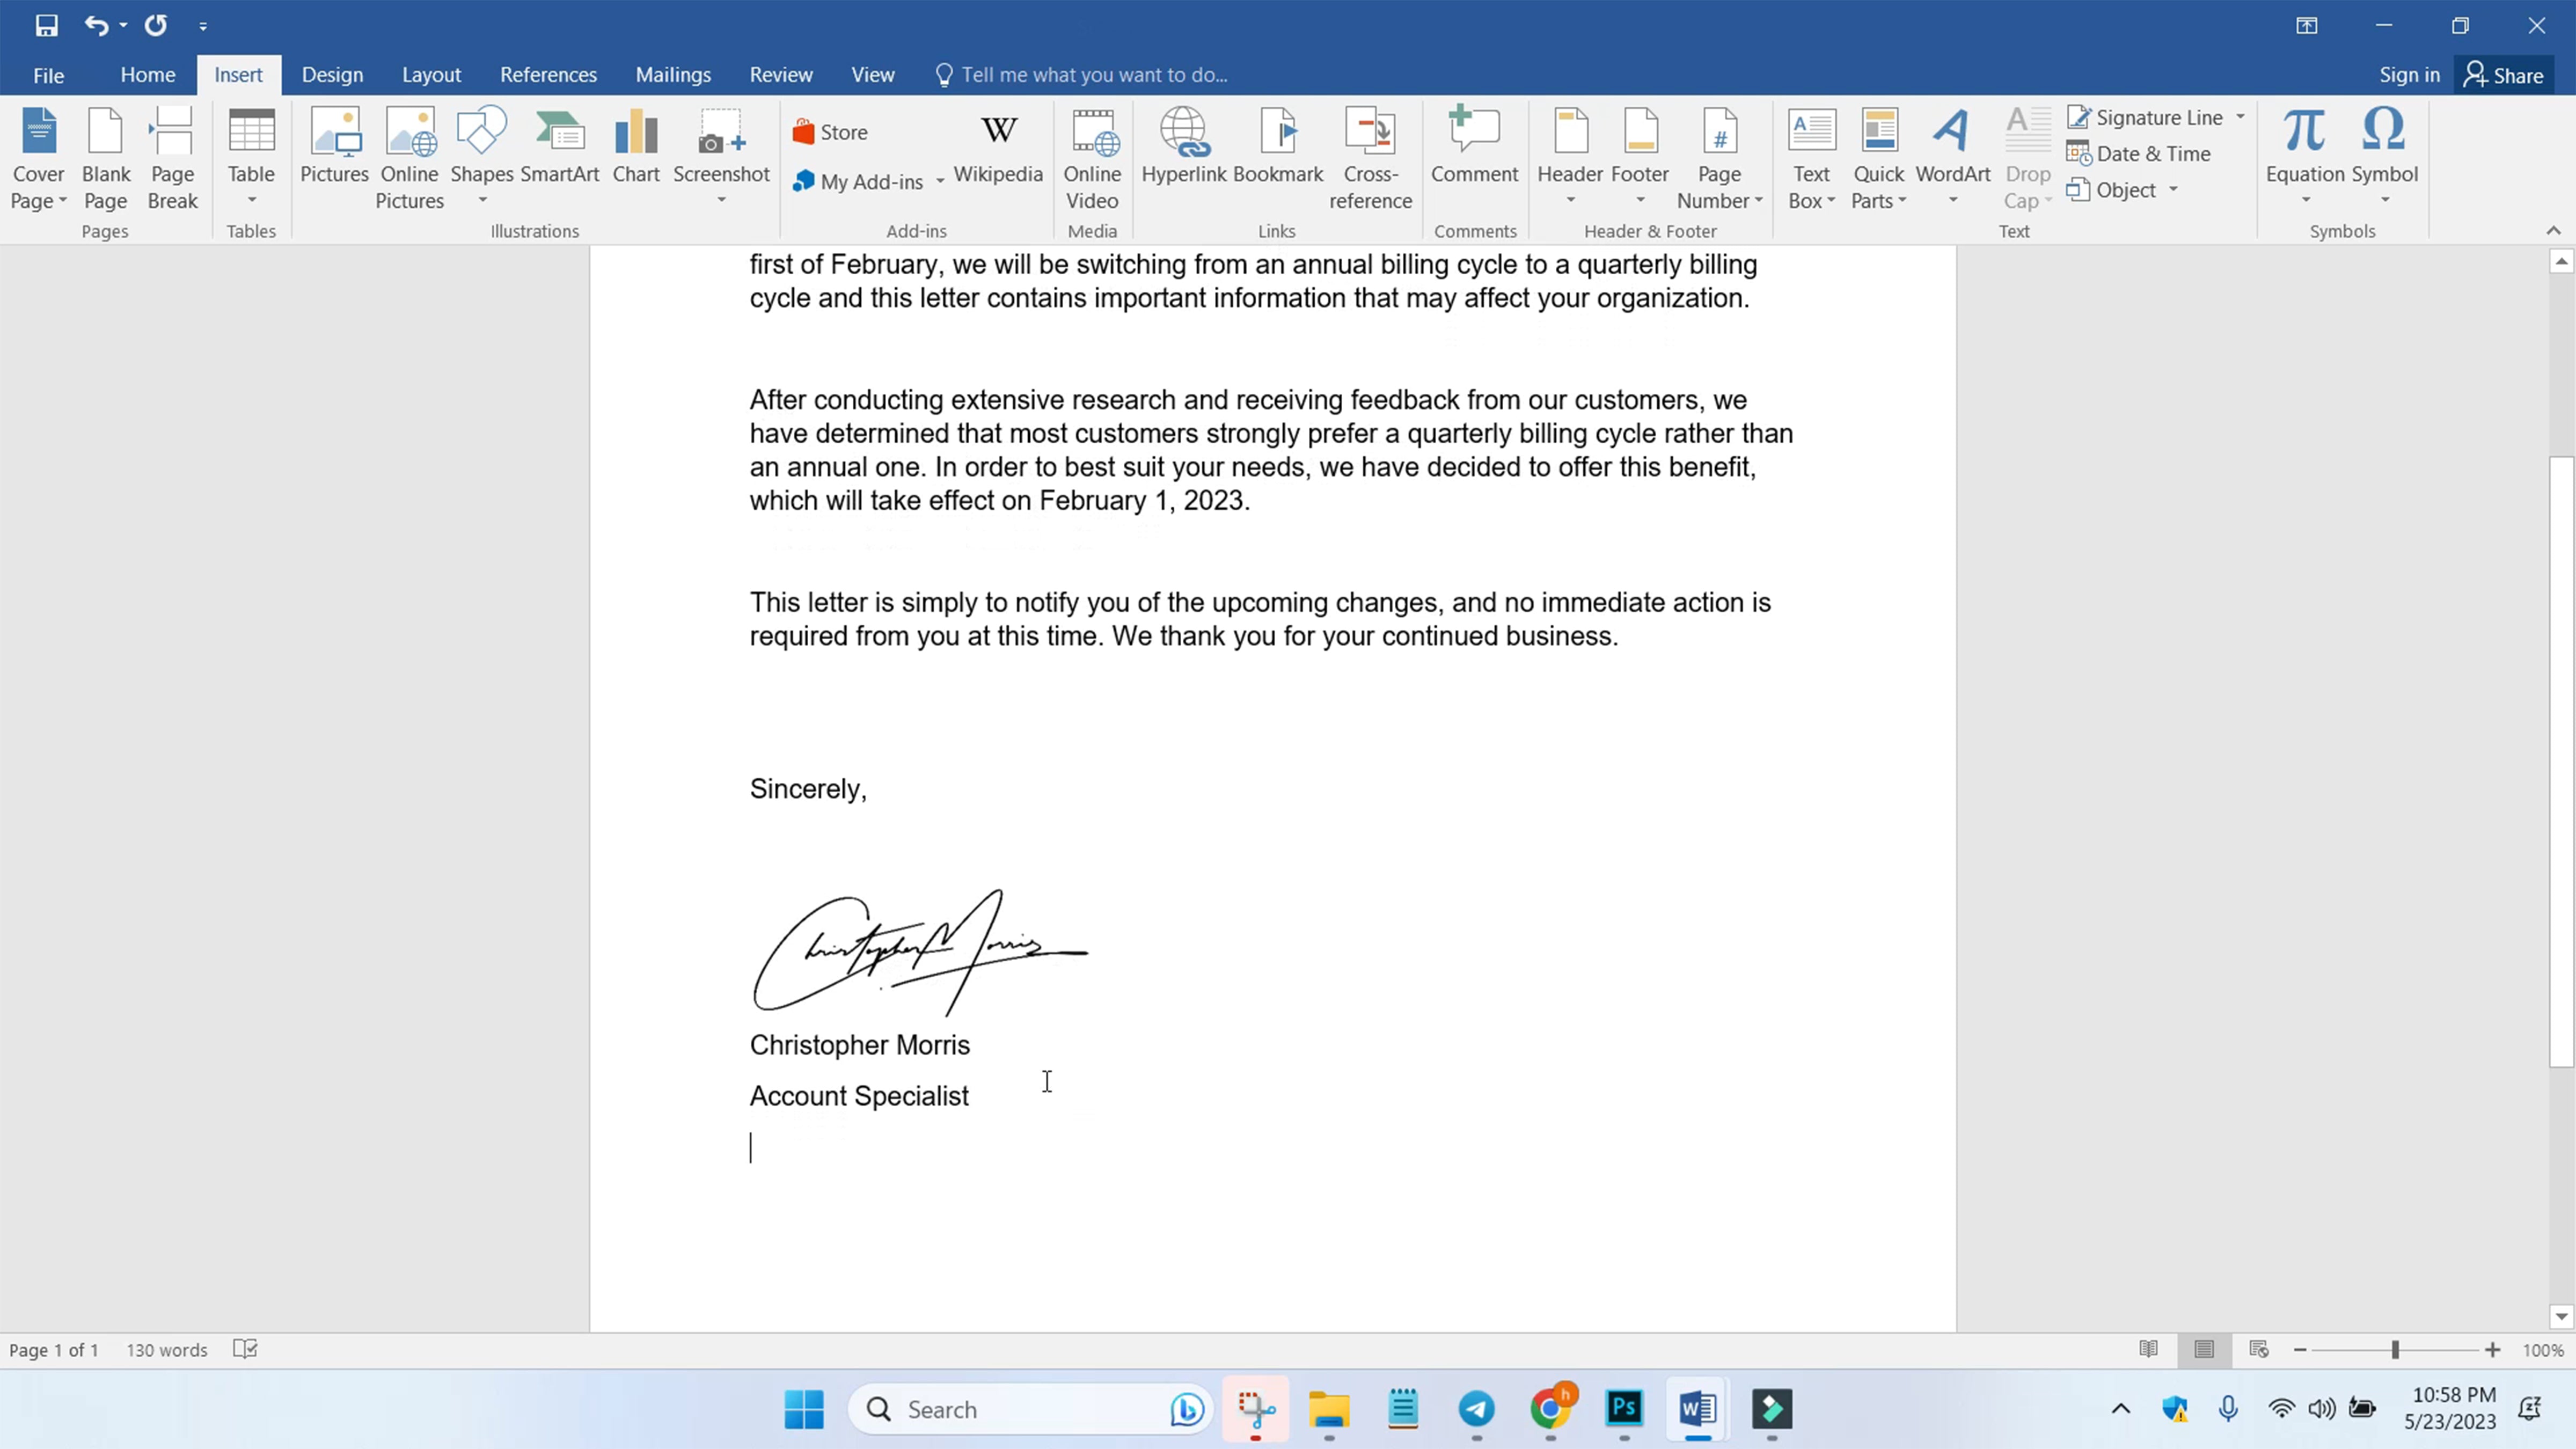
STEP 8: The signature section should be added. You can also format it accordingly.


 GB
GB


Condividi con: